
How to Secure a VM’s RDP.
Not every bear out there is Winnie the Pooh, and we have caught some interesting bears caught in our honeypots.
One of the most hit aspects of security is RDP on the default ports with poor password governance.
– “But doesn’t everyone use 40-100 char passwords that change every 3 days and user names that would confuse C3PO?”.
The answer from the average security person is. “Heck yea everyone should”, but we all know the truth. A username of “admin” and a password of “password” only keeps your kids and the neighbors from getting into your router. It doesn’t do much good against brute force attacks.
… Let’s get started. This demo assumes you have already setup a virtual machine in ARM in Azure with Remote Desktop Protocol already working on the default IP and port.
Part 1: Create Load Balancer
-“Ok Done! We are with you but what is with all the tomfoolery! What is this magic you speak of?”
The magic comes in with the Load Balancer. First things first, let’s create that. 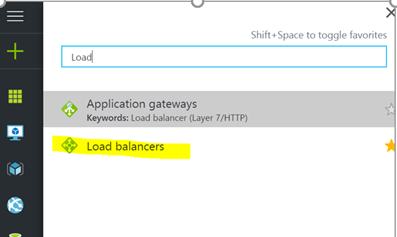
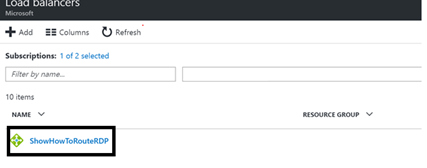
Add New Load Balancer.

Give the Load balancer a public IP. This will allow it to be seen on the “interwebs”.
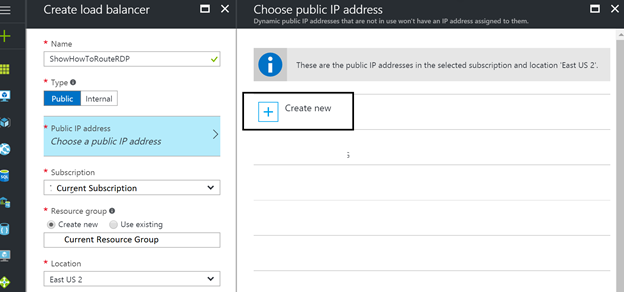
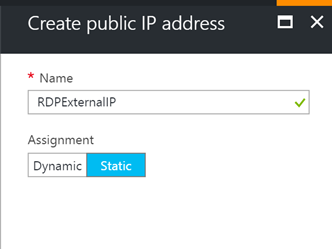
Name the IP address and make it static. (Unless you want Dynamic, but you will need to get your Load Balancers IP when it changes.)
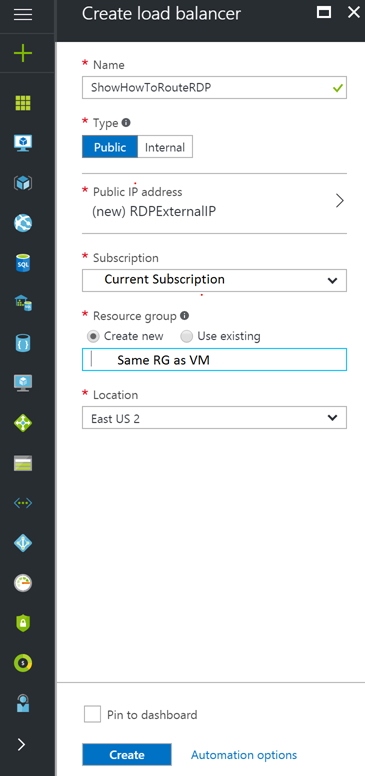
We then make sure everything is properly assigned and set the Resource Group to the same one as the Virtual Machine.
Open the Load Balancer you just created.
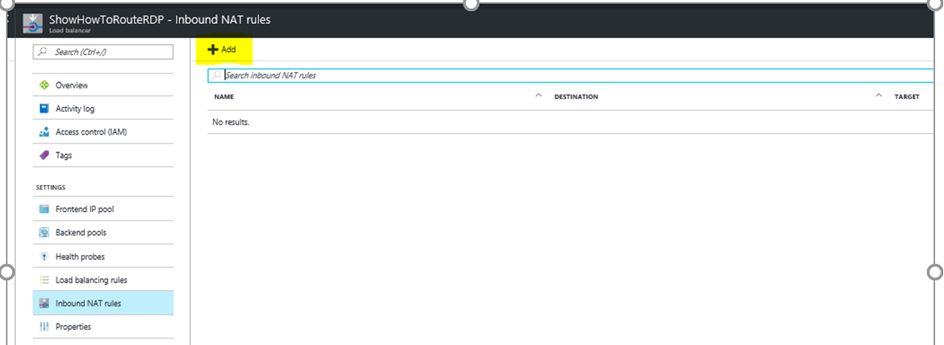
Add New Inbound Nat Rule to the Load balancer.
-“Hey this isn’t magic or gnomes! I set this up in my router in the 90’s, you know back when IRC was cool and my email address ended in compuserve”.
You got me, this is just like that.
Figure out the Port you want to connect to on the external Load Balancer
Forward that to 3389 internally.
Step 1.
Set NAT Rule you can point to an AS or just a single VM..
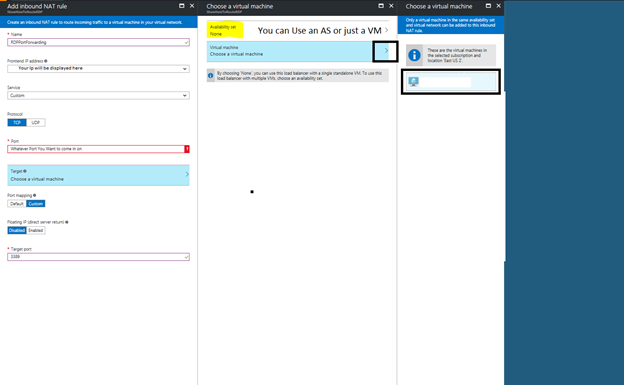
This should make it so you can hit the Load balancers IP:PORT and get into RDP.
*Port would be something like 4000 or 10001. If your IP were 169.0.0.1. Then your RDP line would read 169.0.0.1:4000 or 169.0.0.1: 10001. Those would translate to the 3389 port internally and still connect you to the VM via RDP.
– For all you kids raising your hands out there. Yes 169. addresses usually mean no DHCP could be contacted and that IP should never happen. – Overachievers!
Any other ports that need to make it through here you can also set up 1 rule per. HTTP, HTTPS etc. You can keep the PORTS the same if you just want a pass through. You can keep them or NAT translate them.
Part 2: Removing Public IP from VM.
Hold my ‘coffee’. We’ve got this, and if not, there is always support. Right?
- “Wait, are you selling support hours? ”
You will never know, or maybe you will in 5.
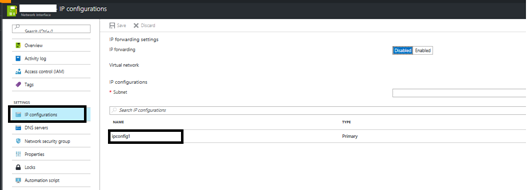
Go to your Virtual machine, click network interfaces. Then double click on the record with NAME -PUBLIC IP ADDRESS
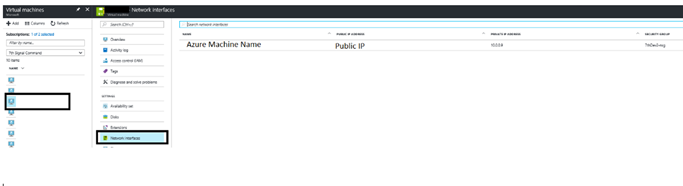
Click on IPCONFIGURATION then double click the appropriate Name for the configuration.
Disable the public IP. 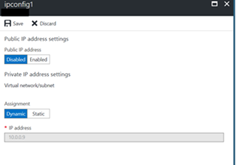
Hit save.
Your traffic will now be forced to go through load balancer where you can change IP’s etc. You should no longer be able to hit your machine through the externalIP:3389.
NOTE: Your Network Security Group will not change, it will still need access to ALL on 3389 if you wish to connect from everywhere.
Part 3: Don’t like only having an IP address?
- “My phone keeps all my numbers in it, if I can’t remember those… How about a name for this monstrosity?”
Easy Peasy, well easy as a few UI clicks. Back to the Portal!
Select your Virtual machines from the Virtual machine menu.

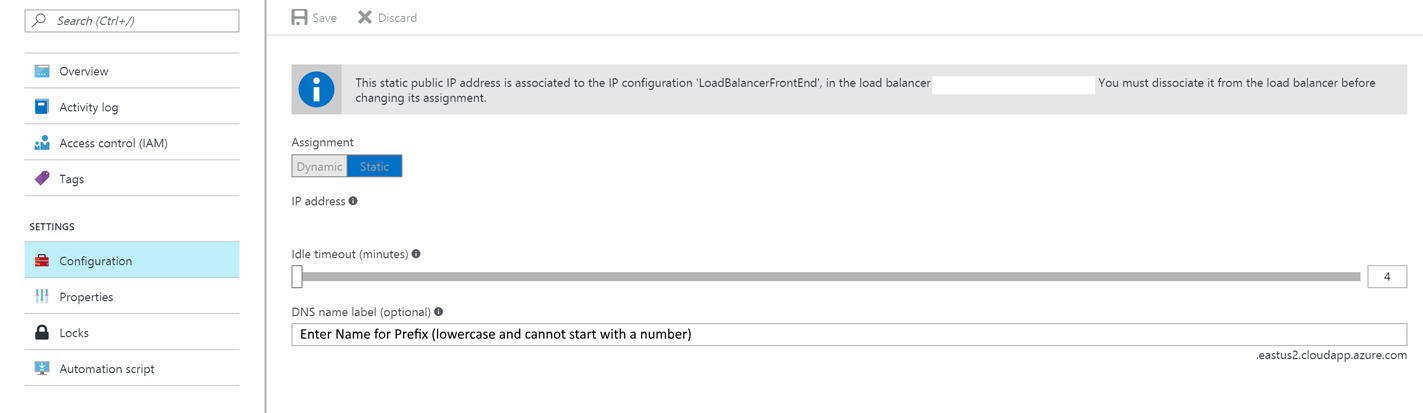
Double click under Public IP Address/DNS name label

Set the DNS Name in the Textbox. This will Give your Load Balancer Endpoint that DNS location.
You should now be able to get to your VM through the LB!
NOTE: Security groups are still required on your VM or your subnet in order for data to pass through.
Thanks again for all the work Matt Garing and Sumeet Kumar in helping hash this out.
Questions? (About this article)
Mark Rowe Mark.Rowe@Microsoft.com
Share on Facebook